JC's Board Shack
THE CORNHOLE SHACK @ JCs Board Shack
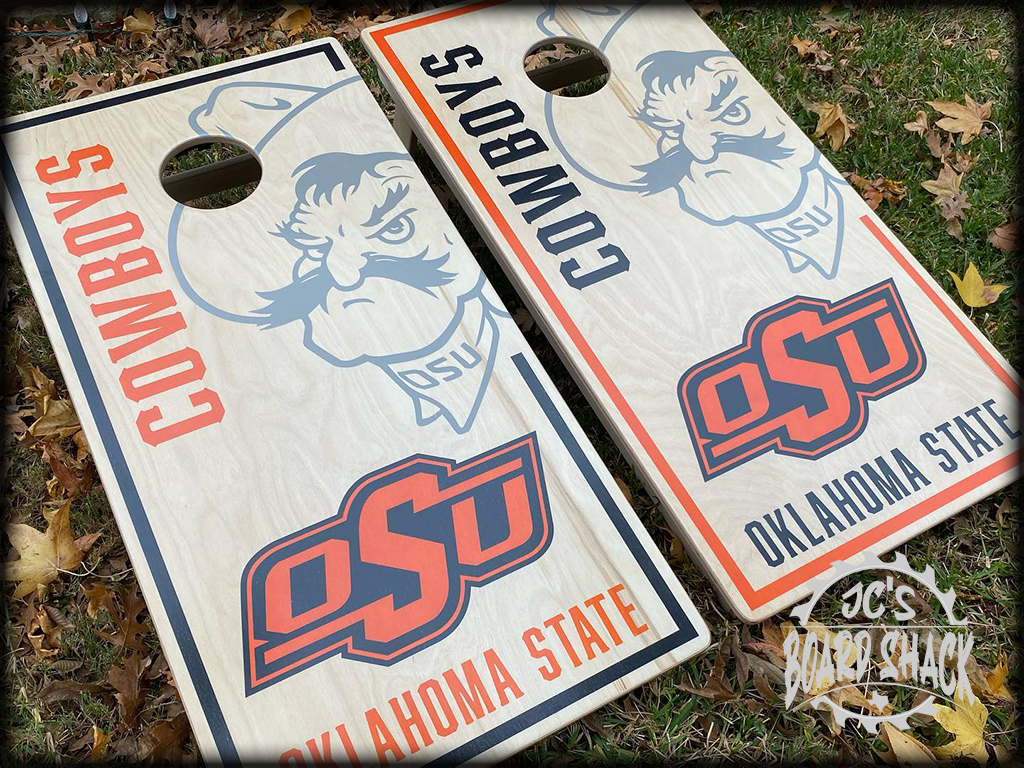
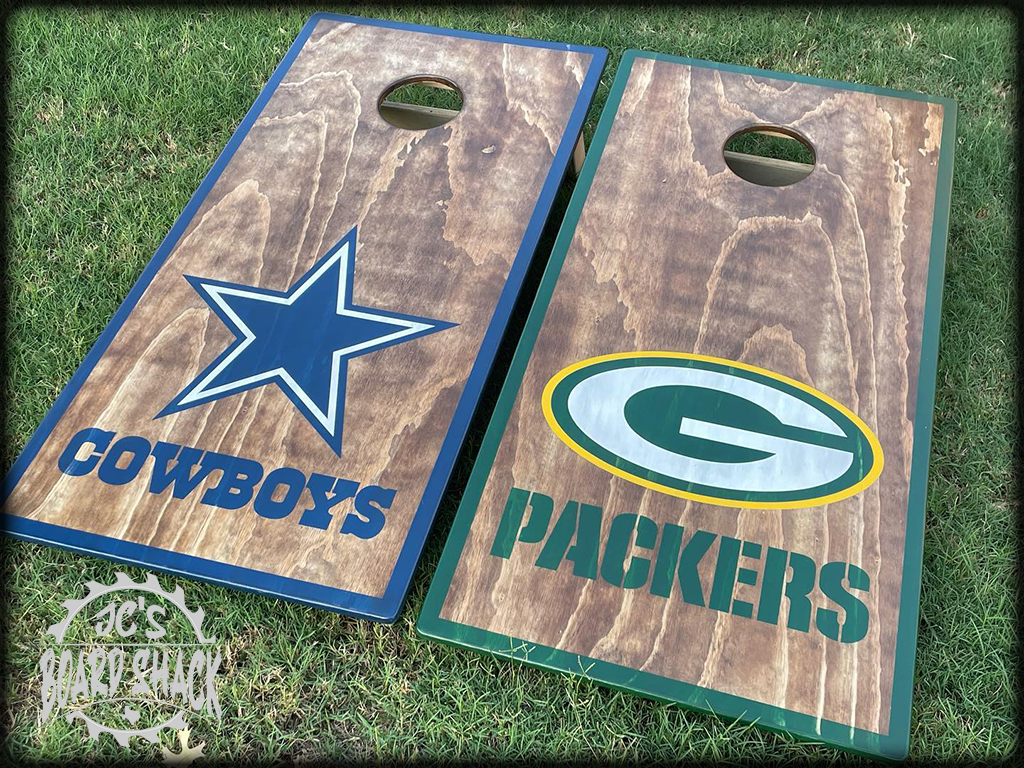
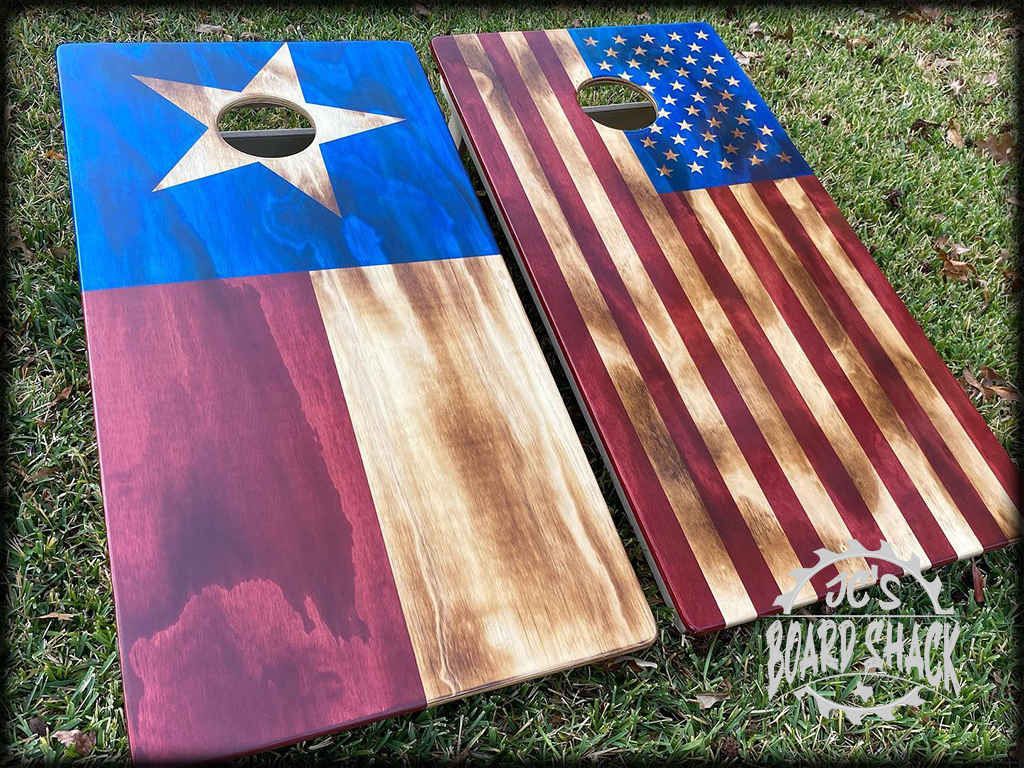
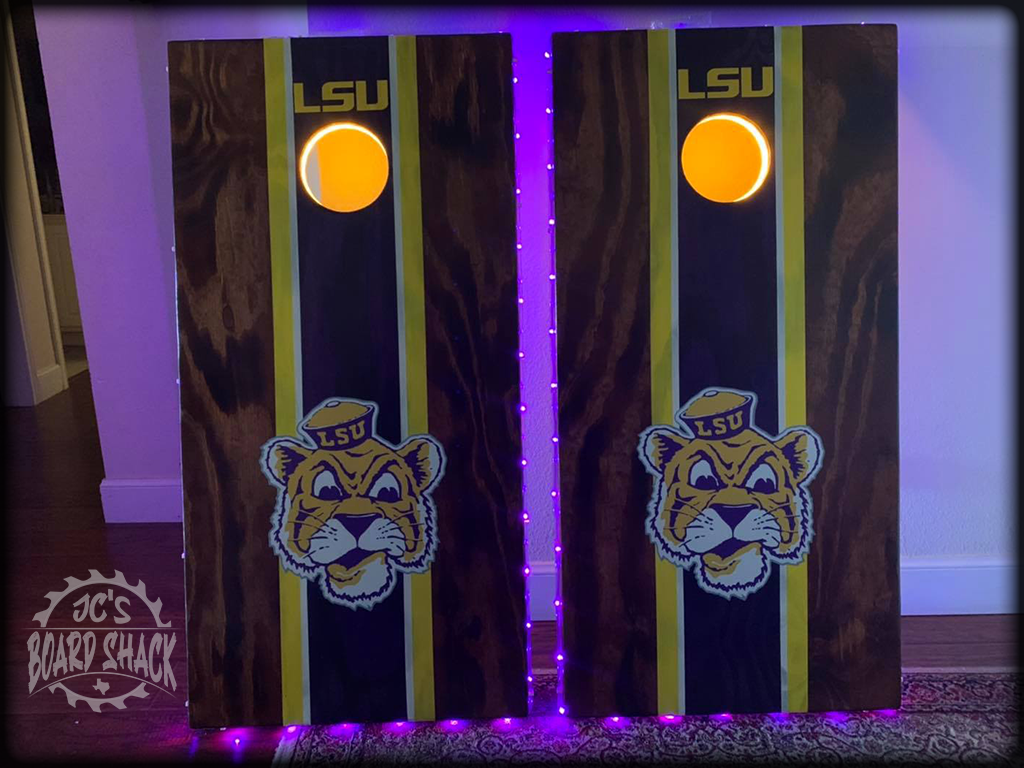
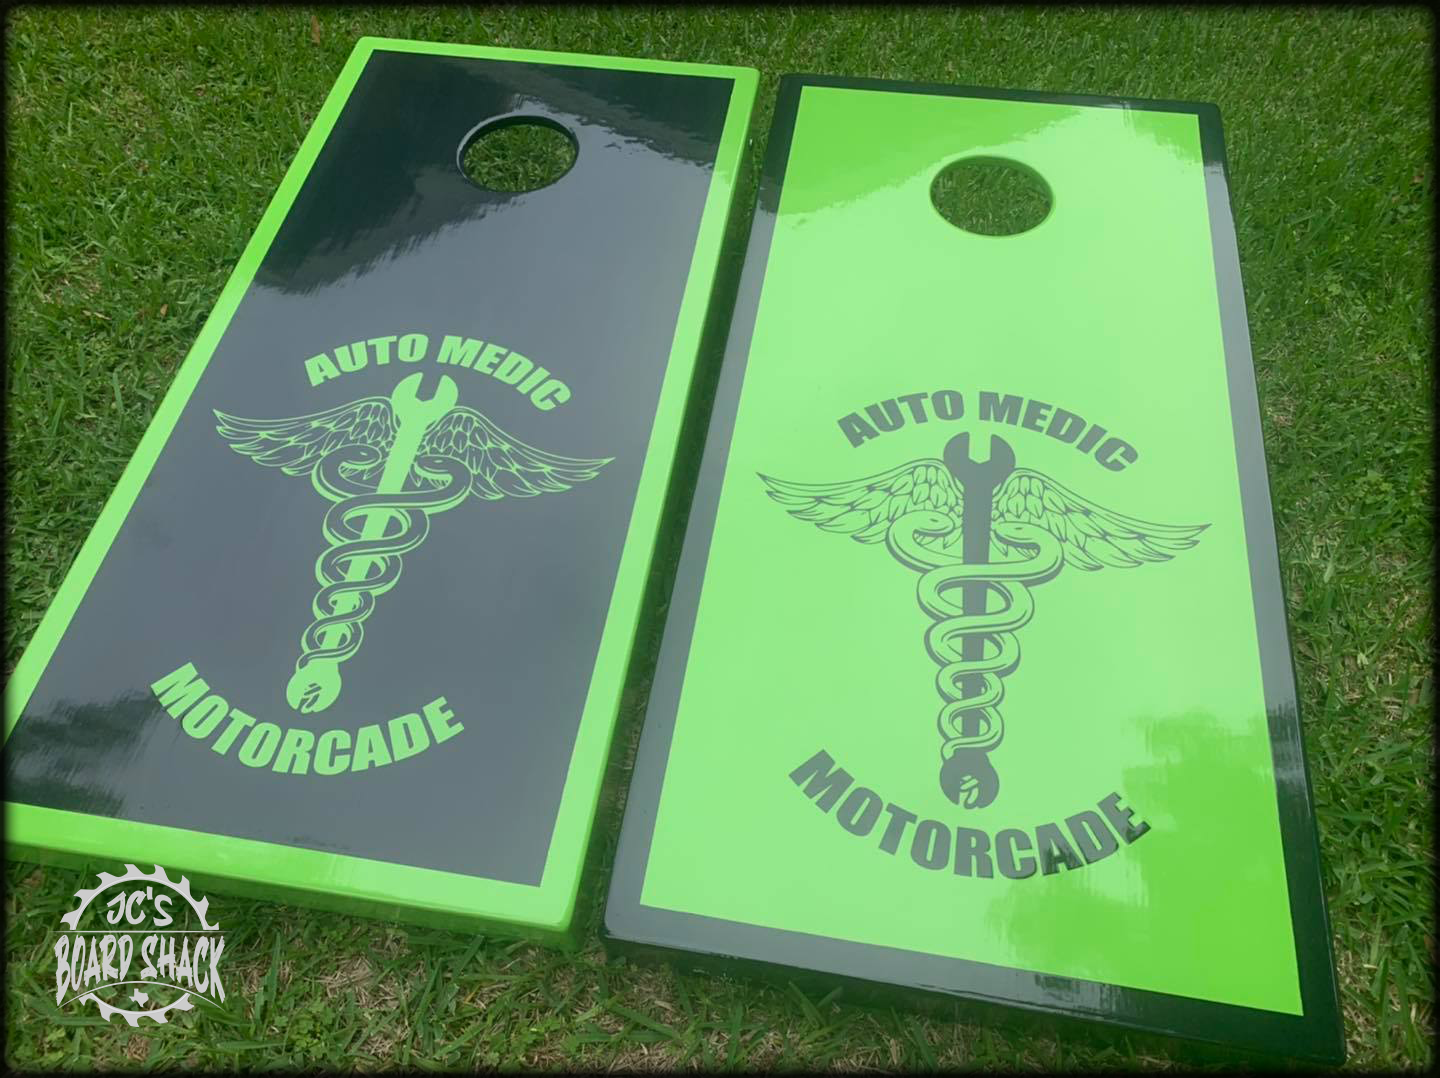
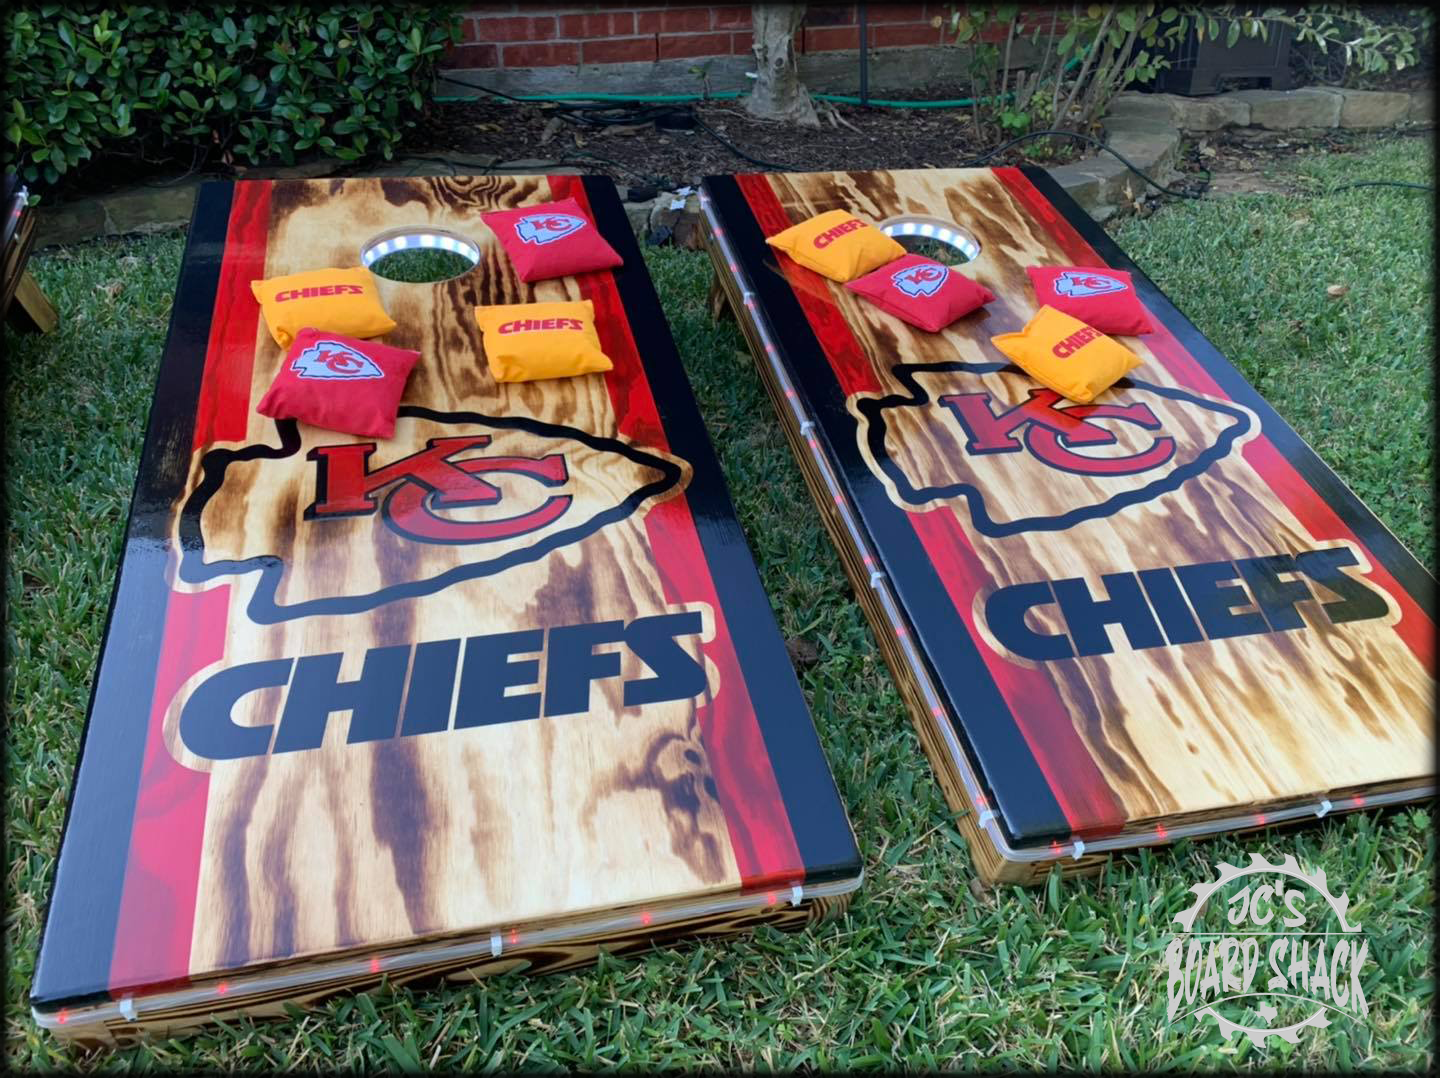
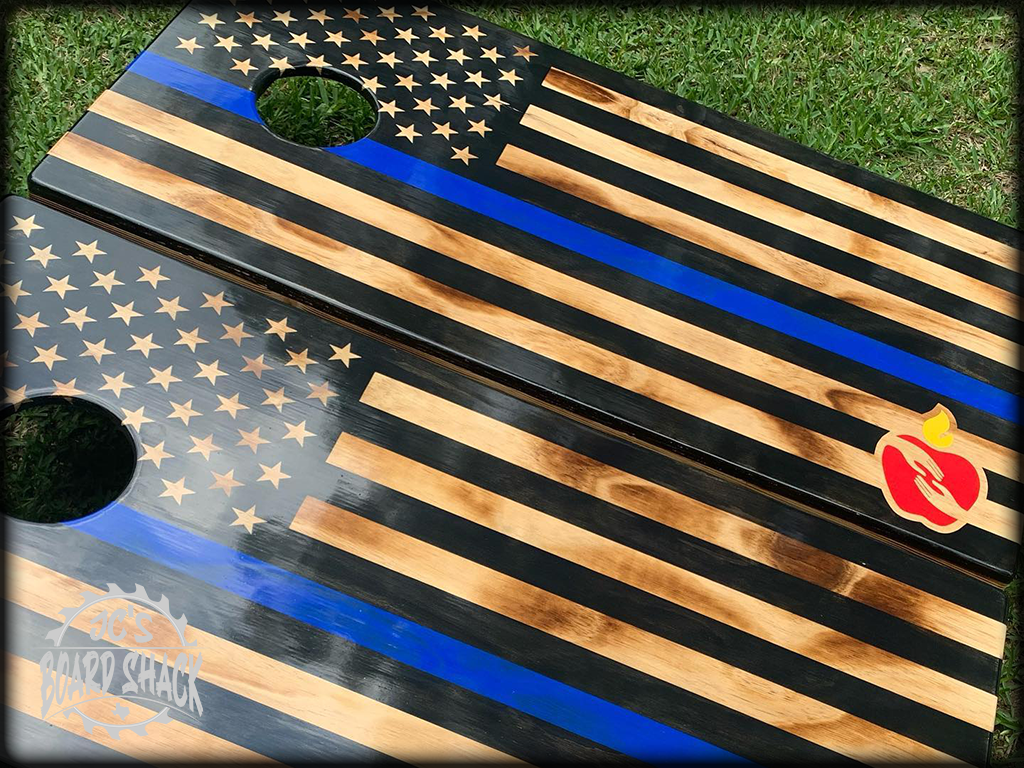
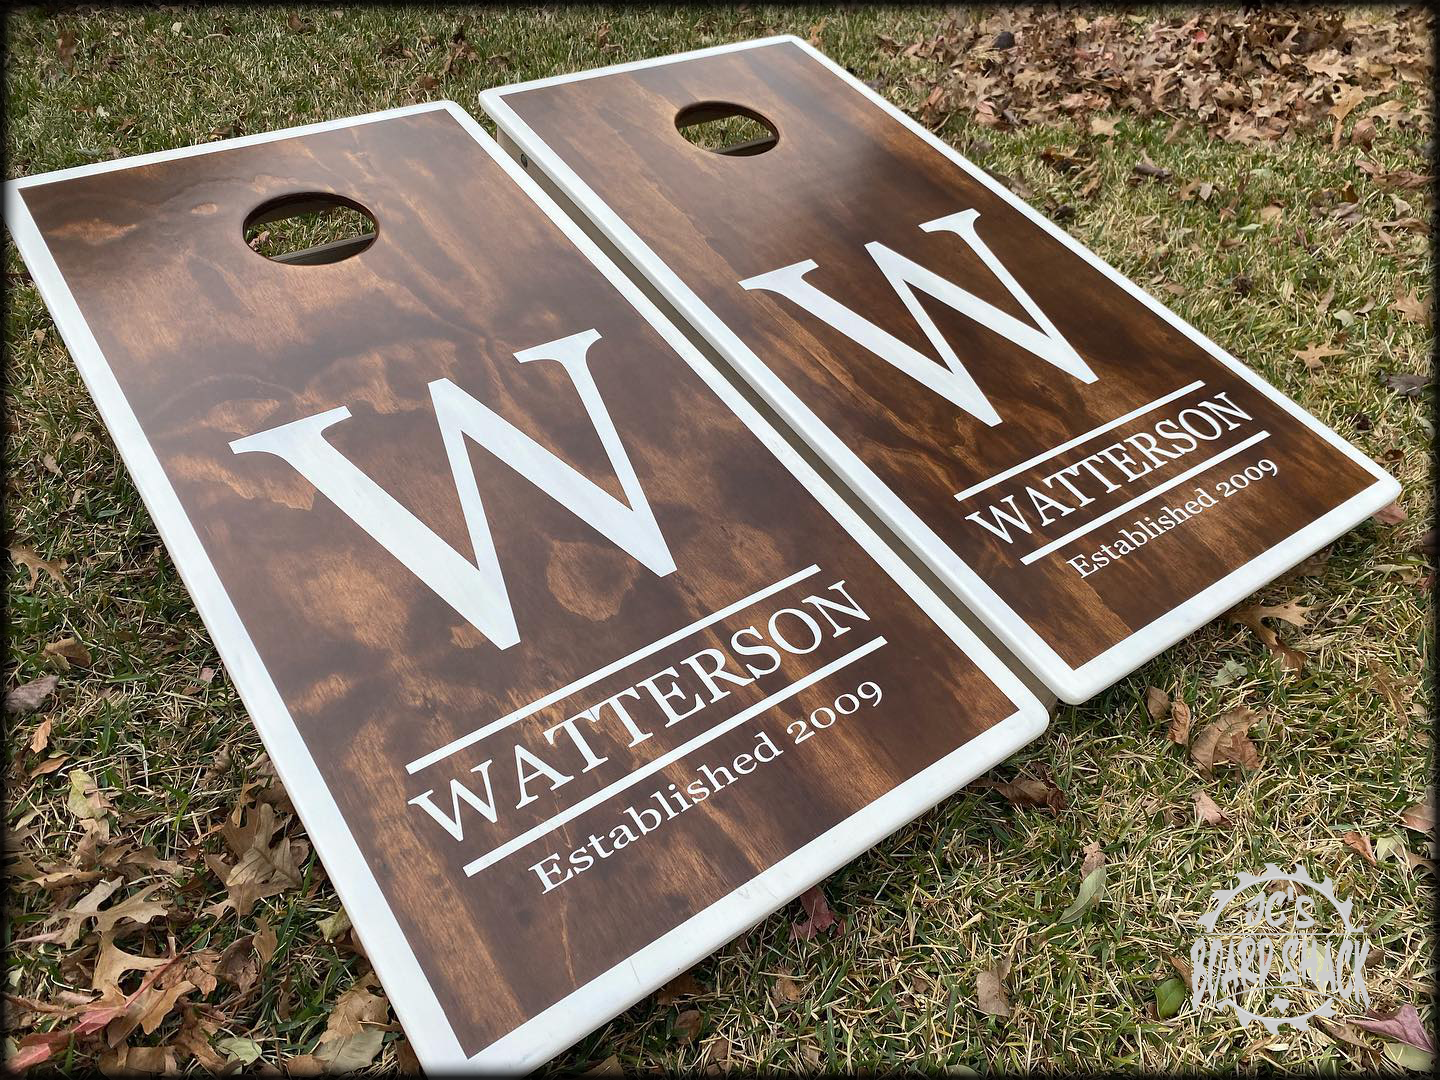
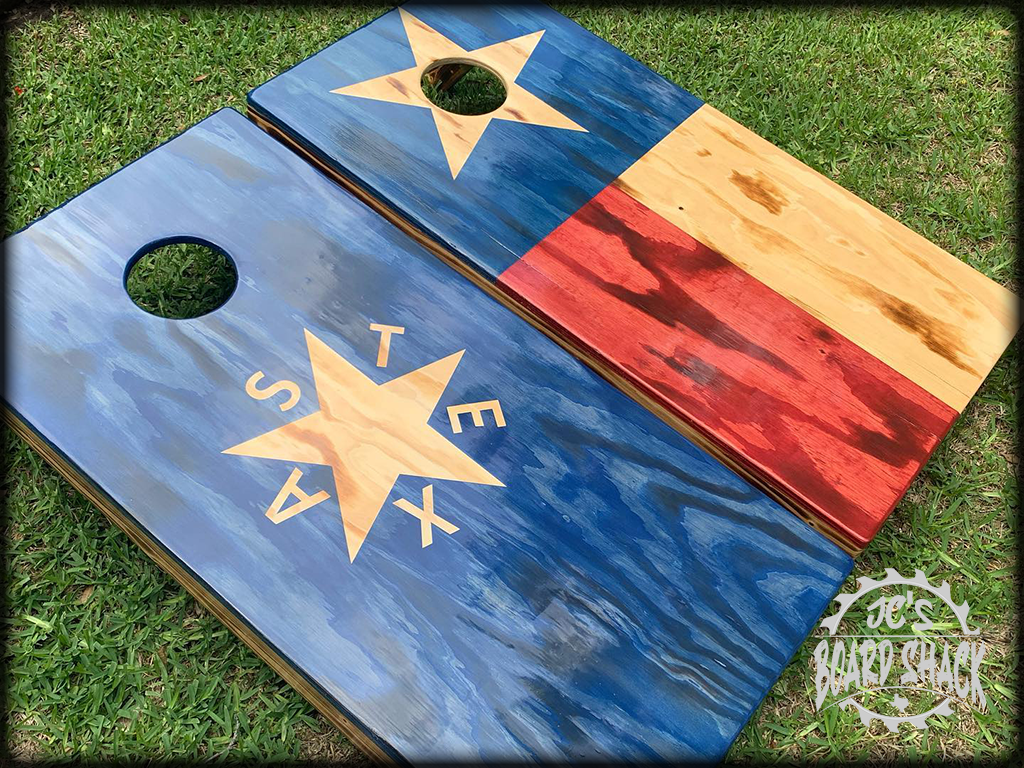
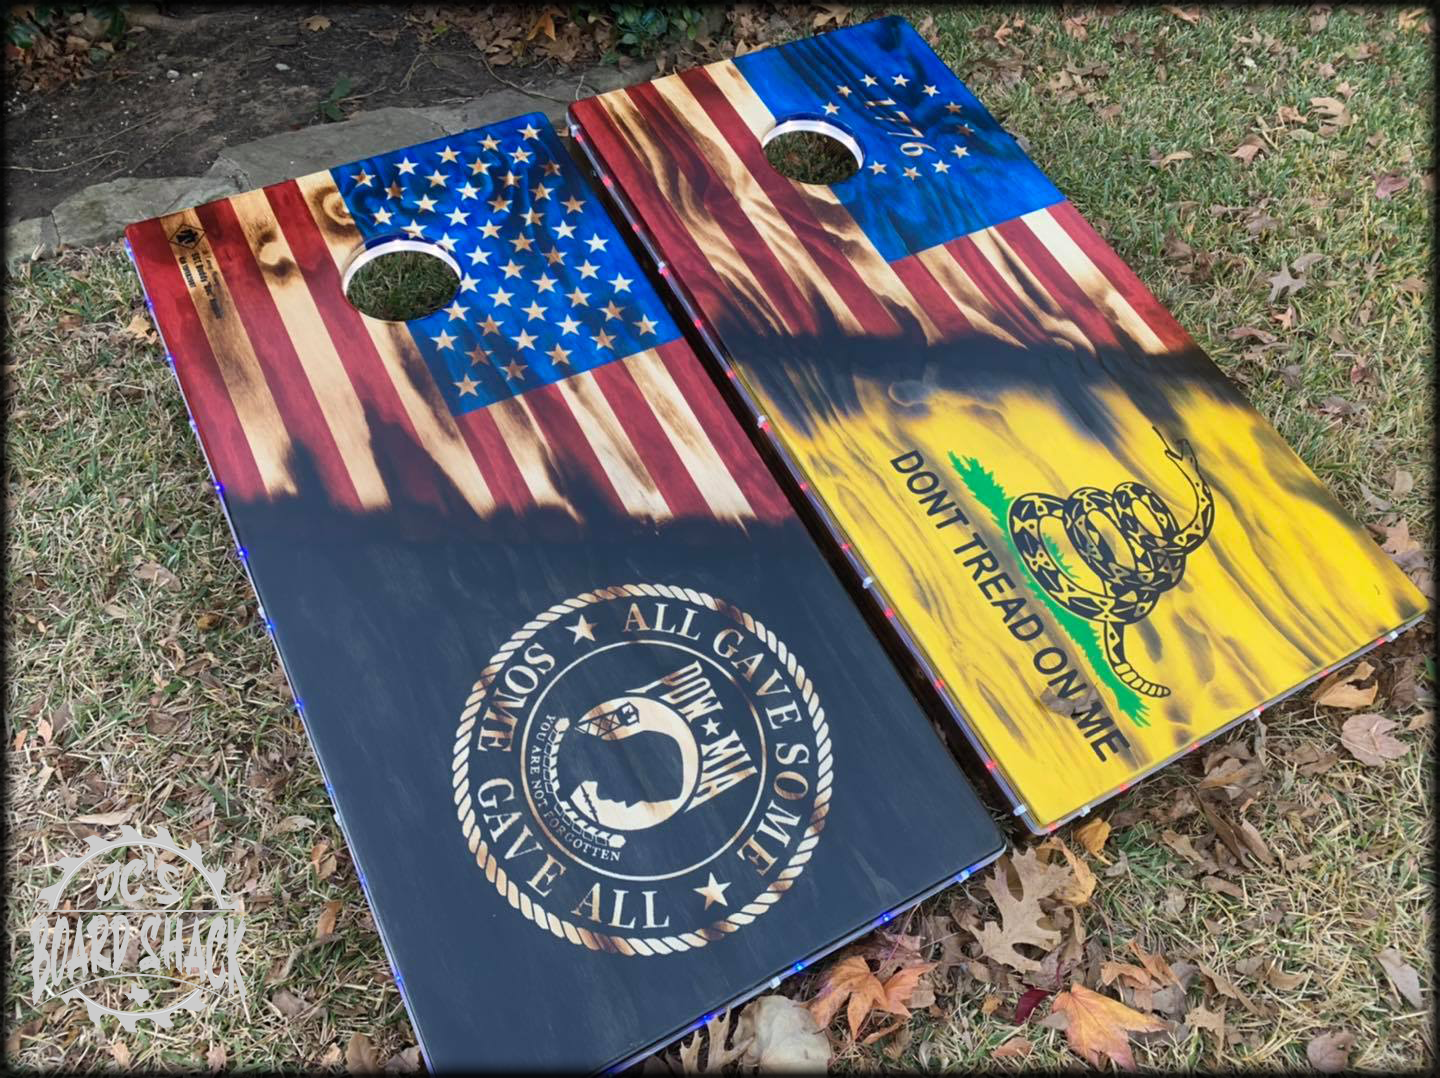
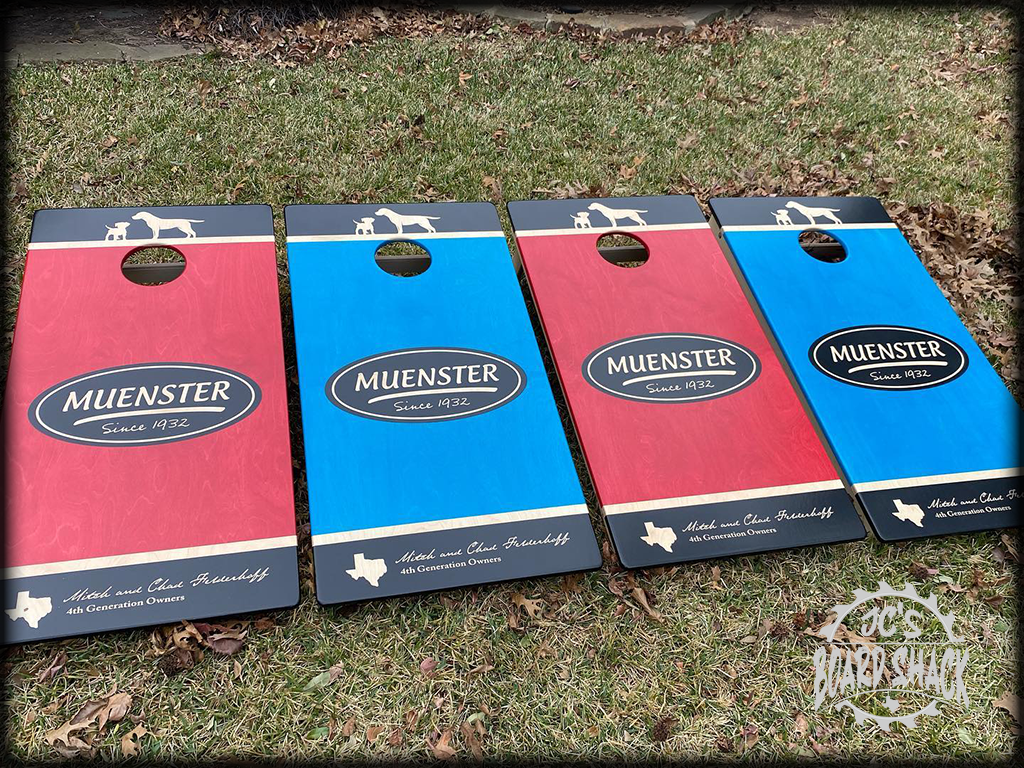
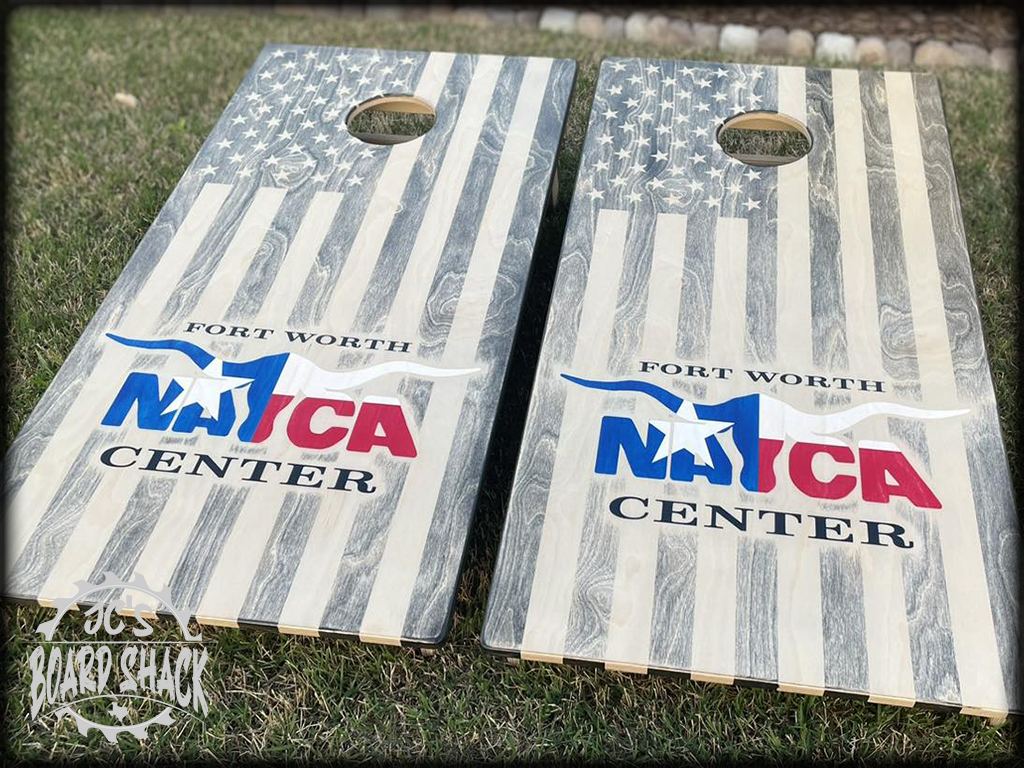
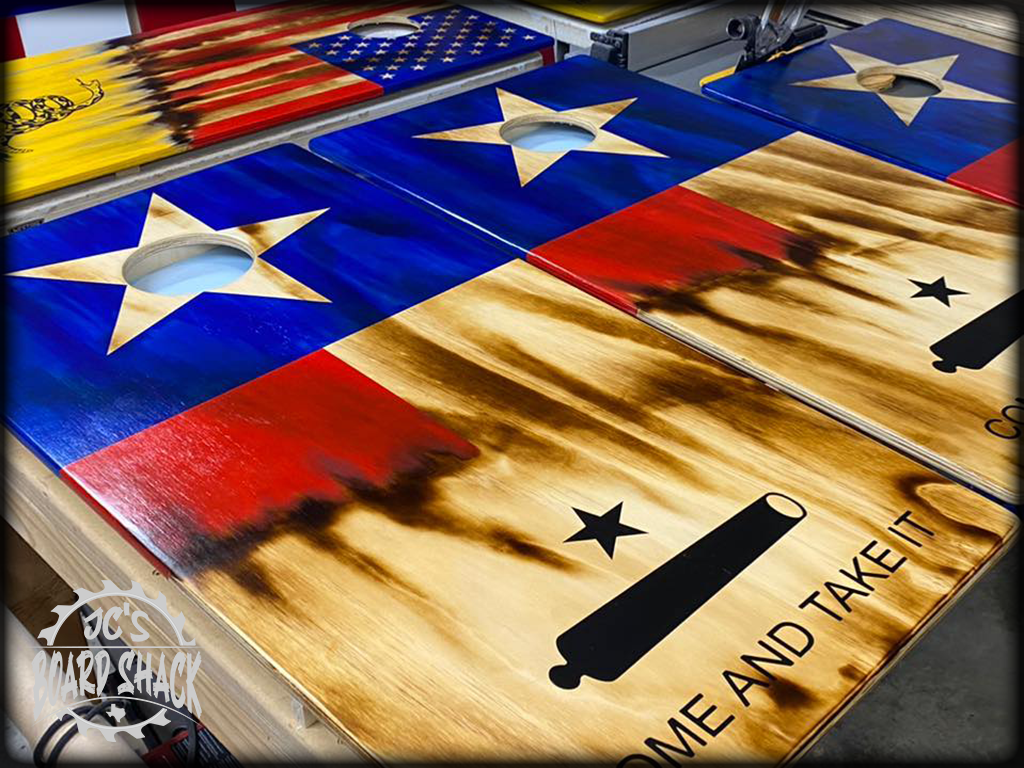
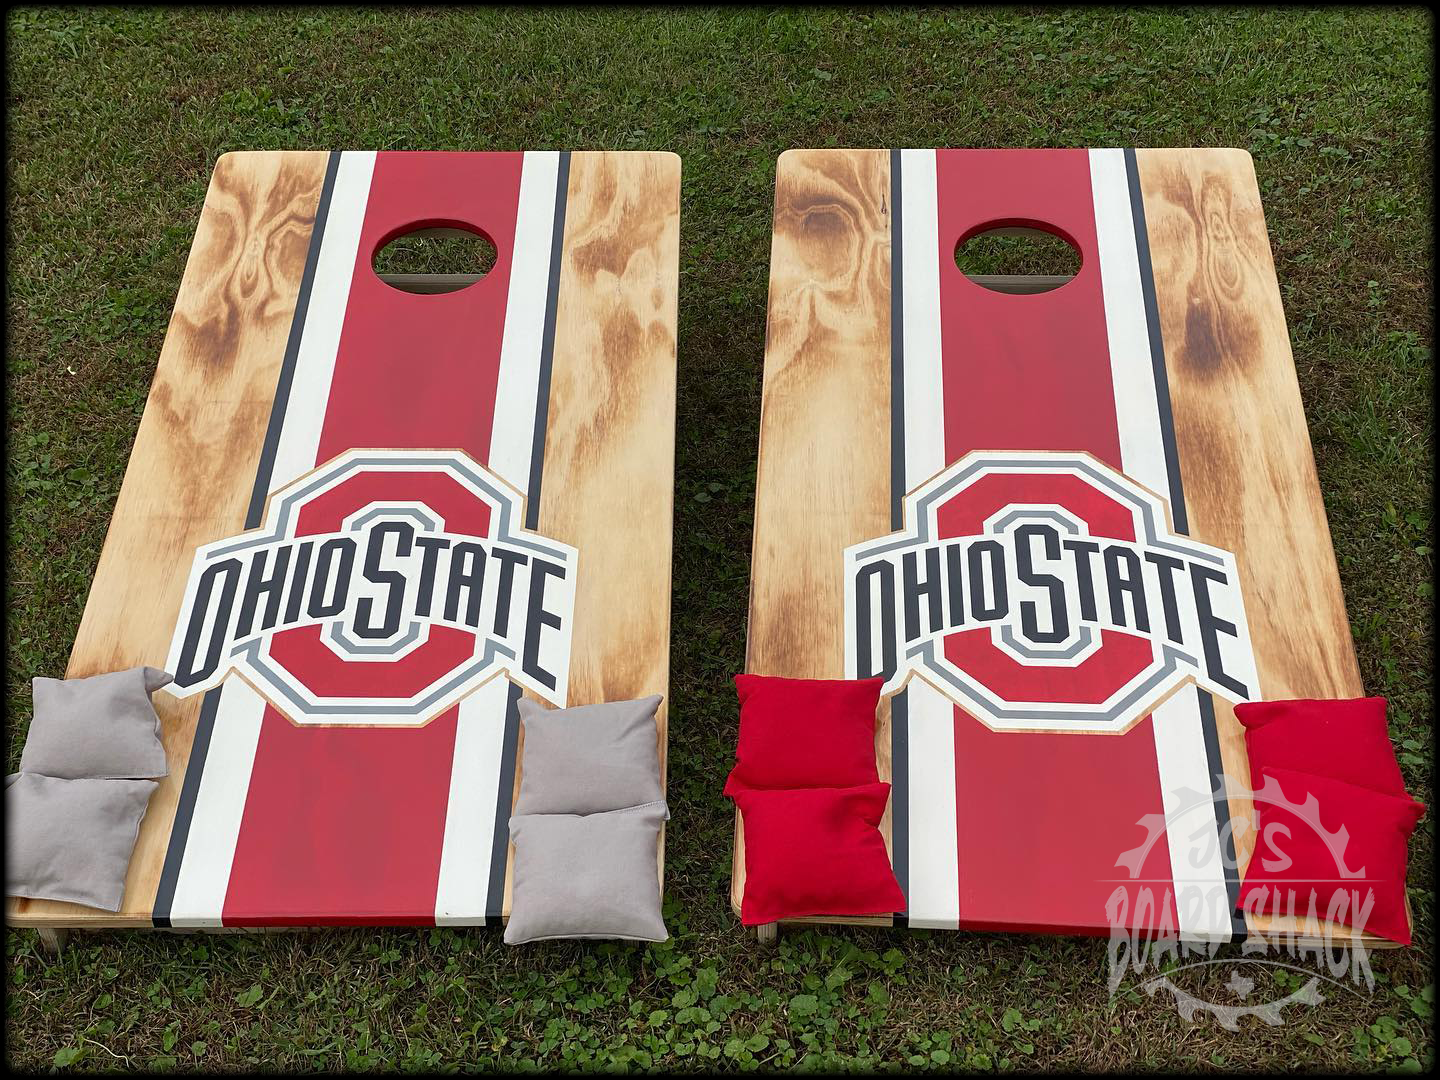
Custom Designed and crafted cornhole boards - handmade with pride
Current lead times are 2-3 weeks
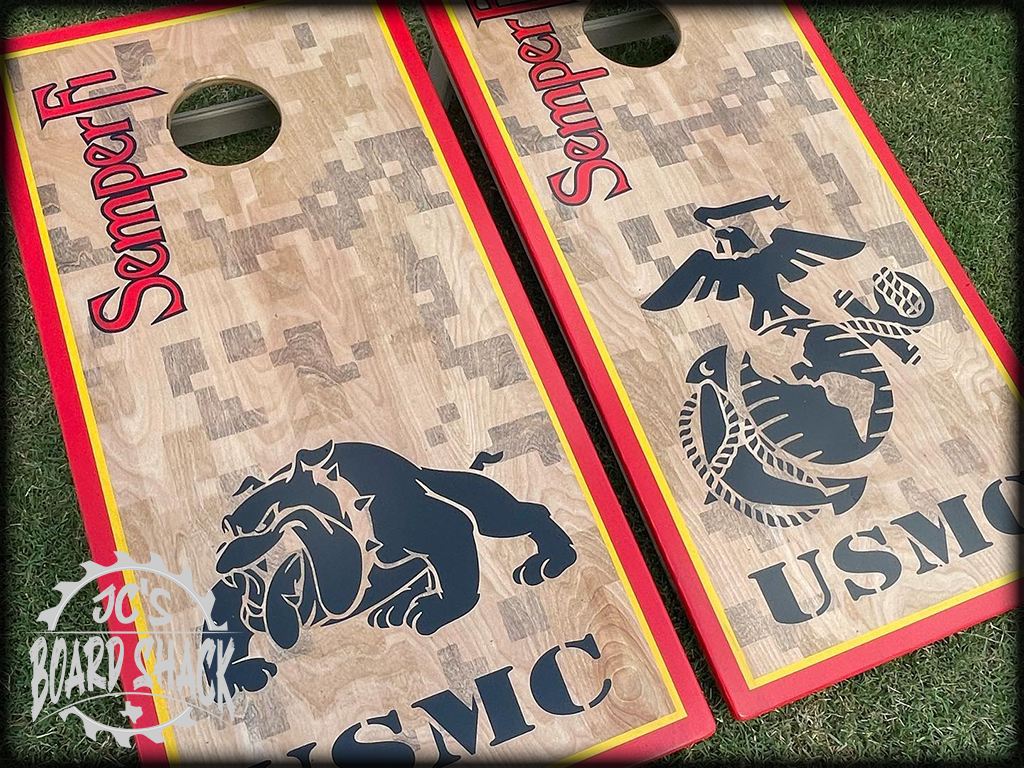
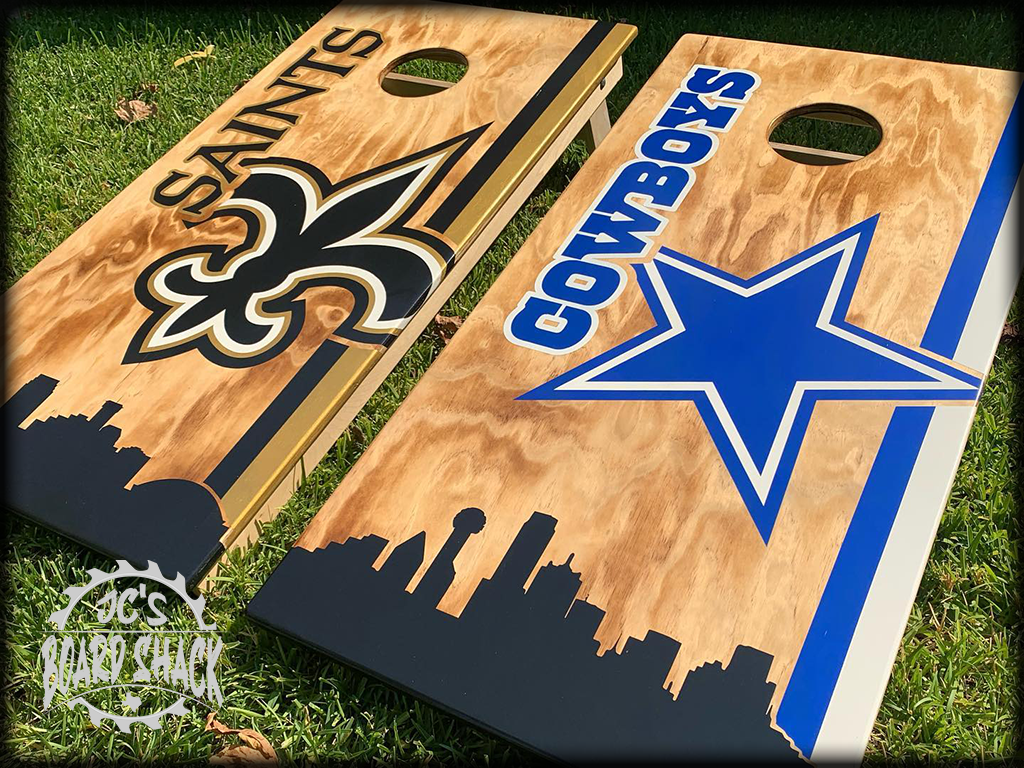
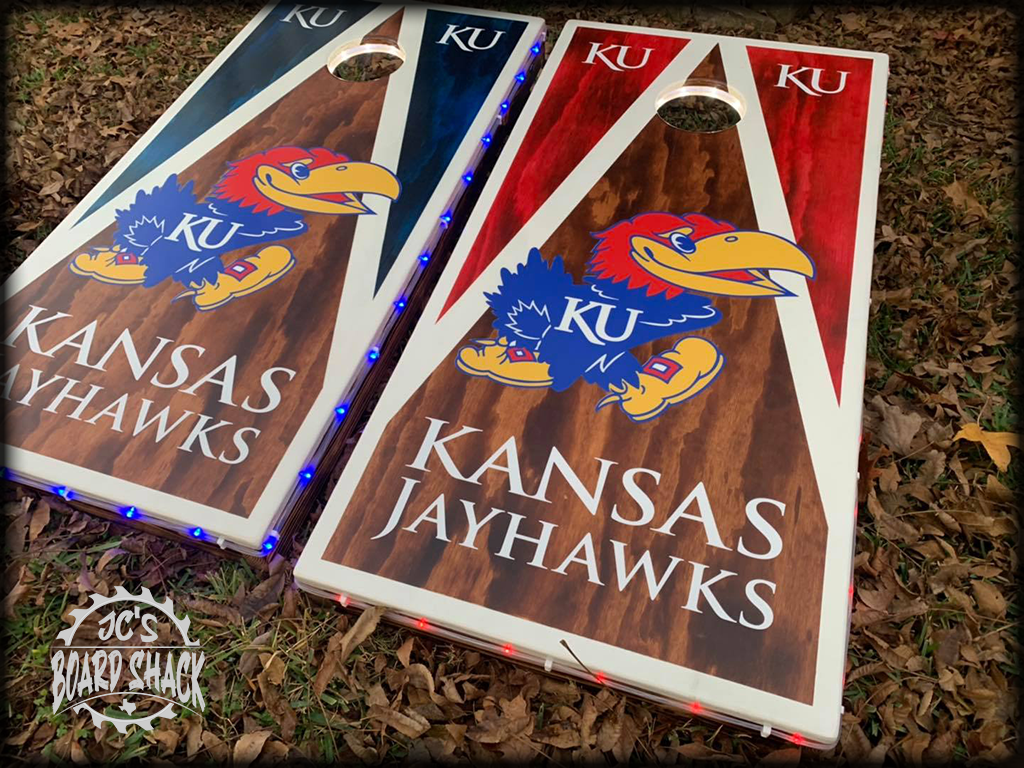
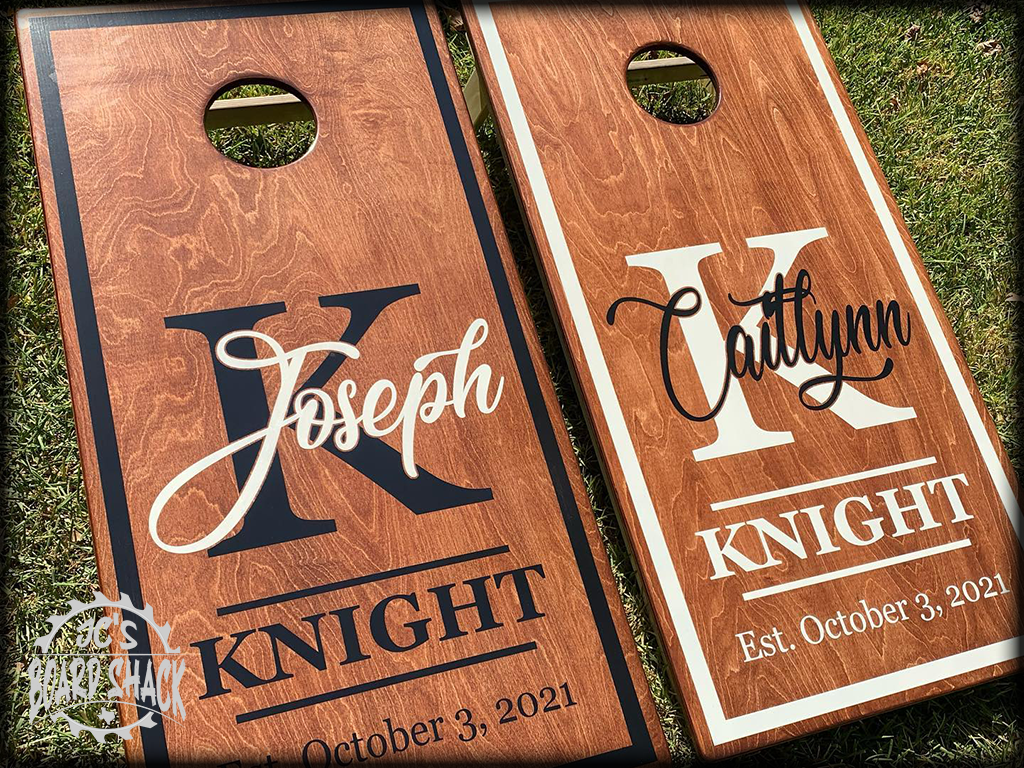
Photos
We have completed over 300 sets of custom cornhole boards. The pics below are such a small subset of what we can, and have, created for customers. For MANY more pics, check out our Instagram page! @jcs_board_shack
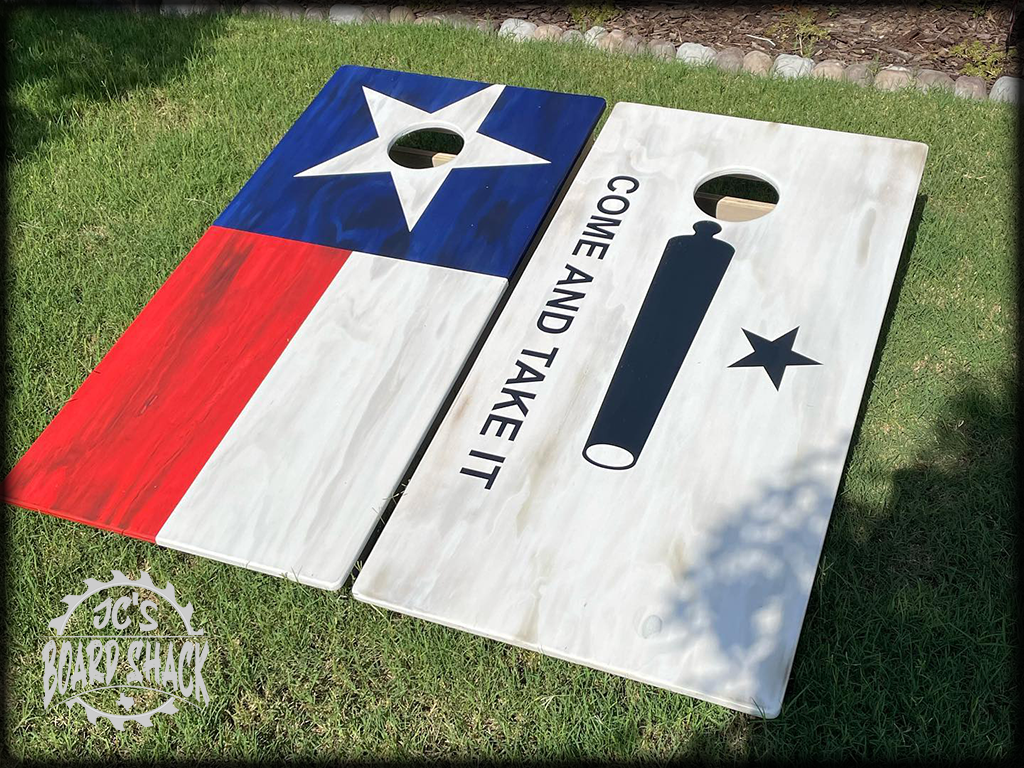


Style, Design, and AIRMAIL!
The Sizes
There is only one size! We build all our sets to the American Cornhole League (ACL) standards. All are built what I call "tournament" style, where the frames are inset to the top decks, and legs have cross-frame for support. All frames are 3/4" plywood construction, inset 1" from the edge of the deck, and legs on a 22.5* angle.
The Wood
All of the top decks are cut from 3/4" plywood. I use 4 different types of plywood, depending on a few factors from the customer, such as overall weight, the type of design they want, and sometimes cost. Burning or rustic looks require strong grains. Strenth requires tight grains, and a lower weight, is a differnt plywood too!- Baltic Birch - Best suited for cabinet and furniture, it is simply the best plywood you can build cornhole boards with. Baltic Birch plywood is made entirely from birch plies, with no softwood or filler plies in the center. Furthermore, the plies themselves tend to be much thinner, allowing for more plies for a given thickness, and greater stiffness and stability. Not to mention, it is just a beautiful grain.
- Domestic Birch - Decent outer veneer, but not 100% birch. Domestic birch is the "big box store" birch. It is made up of filler woods, between the two thin birch veneers. There are voids, and not as many layers, therefore not as strong as Baltic. But if cost and weight are a concern, this is a decent 2nd choice.
- Maple - About the same description as the domestic birch, but the veneers are maple, not birch. It usually has some nice random grains and colors, and I like to use this when not staining or painting, to let the natuarl Maple come through.
- Radiata Pine - Pine is much softer and therefore burns really well for those burnt designs. Radiata is a nice plywood to work with, it sands well, it holds stain and paint well and is a bit lighter, if weight is a factor.
The Finish
I will almost always do a sanding sealer first on top of the design. This seals the paint or stain to keep it from bleeding. Then I apply 1-2 coats of satin polycrylic clear coat, then sand at 320 grit and get everything glass smooth. Finally, depending on the design, thickness of paint, 2-3 more coats of poly. I will that that dry for 24 hours, then sand at 320-grit one last time, before the final coat of poly is applied.
The Break In Period
I don't recommend playing on the boards for at least 2-3 days after the final clear coats. This is to let the finish completely cure before playing on them. After that, though, the best way to break in your new boards is to throw bags at them! I do not wet sand, wax, buff, or do anything else to the finish that would make them "perfect". If I did, your bags would never stay on the boards. So I leave it alone and let you break them in. The first few games, the boards will play "sticky". Bags won't slide, they may tumble, and you may think you need to do something drastic, like add flour or powder...PLEASE DON'T! Keep playing on them. They will break in soon, and the slide and action you are looking for will be there. Patience grasshopper :)
More Info